Wednesday 28 August 2013

俏丽睫毛一整天 ^_^ 短睫毛的救星! 1028 浓密加长睫毛膏


 短睫毛的女孩有救了!!

人家常说眼睛是灵魂之窗,那睫毛就是我们的窗帘。窗帘打开了,光才能透进来。大家在画眼妆时我想最苦恼的部分就是睫毛了吧? 尤其是眼睛小睫毛短的女生 (像我这样)
XD 有时擦了睫毛膏又不明显,不擦眼睛又看起来无神。

当然也有假睫毛可以拯救,也方便许多又可以从复使用。但这样一整盒一整盒的买下来还不如买一只好的睫毛膏。^_^

今天要价绍的这款睫毛膏老实说是我用过最容易用而效果也最明显的一种。它不是專櫃的牌子但却蛮有名的,普通商店也买不到却只能在网上买。哈哈 ok ok 不卖棺子了,答案揭晓!


1028 加伦比海宝石睫毛膏。^_^

这款睫毛膏台湾的朋友应该很熟悉。它就是著名彩妆大师小凯老师的牌子。所以为了台湾朋友们的福利决定这篇用中文写,想看英文版的朋友和我说我马上生一篇出来给你们。XD

它有两种, 一种是浓密形,另一个是加长版。可两个一起用或分开都可以。^_^ 当然一起用的效果会超极明显。我个人是很喜欢把两个用在一起。。但分开用的效果也爆炸好哦!


俏丽浓密型这款,它的细长螺旋刷头可以很全面的包覆每一根睫毛。短的刷毛可以容易沾取到睫毛膏,均昀的刷到每一根细小的睫毛,彻底的从睫毛根部加强浓密和卷俏度。


纤长睫毛膏,它独特的6D360度球型刷头不只符合东方女生的眼型,加上长短的刷毛能刷出根根分明的睫毛哦!^_^


刷上去之后就好比带了假睫毛一样!
价格方面也佷合理。效果和專櫃的比起来一点也不迅色。


没刷睫毛的眼睛看起来根本就无神。。看起来好像没有睫毛的感觉。XD


刷了之后眼睛立刻就被放大了! 也看起来比较有精神。^_^
终于可以看到我的睫毛了!! (超感动的贲泪~~)

我个人是比较喜欢两种 一起用来达到最佳效果。

常常有人问我睫毛膏到底能用多久啊? 其实睫毛膏最好能每3个月换一只因为打开后就会接触到空气然后我们常常不停开关的实用也会很容易干。还有在摄取睫毛膏的时候千万不要把刷头以从复上下的动作望管子里赛因为这样睫毛膏会干的超快,品质也会受影响。打开后轻轻的在管子里将刷头以旋转的方式来摄取睫毛膏这样就可以了。^_^

重点是它不但不会将睫毛结块在一起变章樃腳而且还有抗晕染的工能。卸妆也超简单的,用温水也能卸掉。

工作了一整天回到家后发现睫毛依然还是有卷俏度而且也没有晕染到眼皮。依旧还是完美无瑕的。^^呵呵。。


大家可到这个网站构买哦!
www.beautyezy.com

希望大家喜欢今天的分享咯!
Lurve
Snowy
Makeup Artist & Beauty Editor


Monday 19 August 2013

[DIY Sharing] Nail Art Pink Graffiti Glamour x Funky


    How was everyone weekend last week? Did you all had a great one? ^_^

    Weekend nowadays are so precious to me as it's the only time that I can have some personal
    Time to myself or spending quality time with my family. Usually I'll either be at home doing
    My stuff, trying to write more articles for you all or simply just spending time with my family
    Even though it's more like slacking at home. XD Either that or I'll be working at photo shoots
    Or other makeup assignments.

    By the way I recently had my hair cut and dyed so this is not really my most updated recent
    Photo but I can assure that there isn't much changes in me at all. =P

   Another thing that I like to do during the weekend will be to do manicure and/or pedicure. (If
   I'm not too lazy or if I have some inspiration. =P) Yes for everything I do inspiration is very
   Important to me. Whether it's designing makeup looks or doing my nails. So today will be
   Another nail art tutorial. A real simple, quick and easy to complete design. =) Here we go:

Step 1: Remove excess oil, dirt on your nails by gently cleaning your nails bed
           With a cotton pad soak with nail polish remover. Paint a layer of clear base coat over.
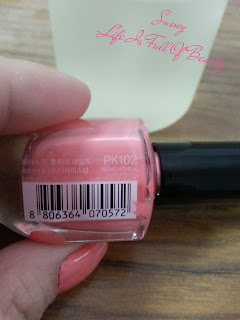
Step 2: Paint a thin layer of the nail polish (Color of your choice)

Step 3: Paint a second layer over after the first coat has dried.

(Small interruption here: Recently I have discovered a very good nail product which dry your nails Slightly faster which is none other than Quick dry drop. Perharp some of you have heard before or all Along has been using it but personally when I do my own nails I had never used before. It was my Sister who bought one from Etude House and has been using it whenever she paint her nails. Thus, One day I decided to give it a try. And somehow it works, it makes your layer of nail polish dry Slightly faster. After painting the first layer, you can drip a drop of the quick dry coat over before Painting the second layer.)

Step 4: Once all your nails are painted with 2 coats of your desire nail colour, You can now start to do the art part.
 

Step 5: For my middle and forth finger, I'm using the black cracking top coat which I just painted it
            Over and the black and white shattering bits top coat and below is how it looks like. ^^


Simply just love the effect. Ain't it pretty? ^^


Step 6: For my pinkie and index finger, simply just use nail art pen and place little black dots on top.
            You can design and place them in any way you want or prefer. You can also use a toothpick
            Or a dotting tool which I have recommended before in my other nail articles.


Step 7: For my thumb, I painted a layer of sliver glitter nail polish over and once dried, paint a Layer of top coat over and place the pearls or any 3D ornaments of your own choice on top before the Top coat dry up. Paint the top coat over your other fingers as well.


And....Done! Simple? Quick? Easy? =D Very suitable for casual weekend out, parties or even
For work/office.
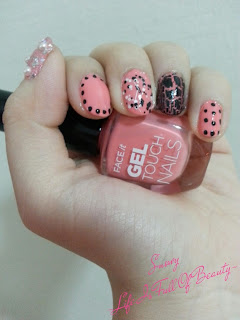


I myself really love this design as its not only quick and easy to achieve but its also very me. LOL.. XD (I have always love the colour combination of Back & Pink.)  Nowadays many nail polish brands have come up with nail polish that are glittery, with beads, crystals, and even caviar beads! So now designing and doing our own nails has become so much easy and fun! All the nail polish that I used in this tutorial are from The Face Shop. Top coat was from Etude House. Right now The Face Shop has launched lots of new colors and even gel nail polish which is the one I'm using here and Etude House are having a buy 1 get 1 free nail polish promotion so quickly go get them now while stock last! =P  Whereas for me, I really have to stop buying nail polish for a long time now or at least wait till my old ones are finished or dry up as I have one whole basket of nail colors and running out of space to store. >///<


Hope you all enjoy today little tutorial.

Lurve
Snowy
Makeup Artist & Beauty Editor.

Friday 9 August 2013

[Product Review] Za Total Hydration BB Cream UV & UV White. Get a natural & glowing skin this summer!


If I were to be ask that what is the one makeup that I cannot leave house without even if I'm running late, I guess that would be my base makeup.

Yes, you must be wondering why. Most people would opt for eyebrows, mascara, just false lashes or some don't even apply anything at all when they are running late. Not even sunscreen! But personally to me a good base or foundation can not only makes you look more fresh and radiant but most important it can also protect your skin from dust and pollutants outside and the deadly killer: UV Rays! 

For most of us I believe that all along we had been trying to find that perfect foundation, the right shade etc and throughout my years dealing with cosmetics and being a makeup artist,  I would say that the greatest invention would be BB cream.  

In case for some of you who hasn't got the slightest clue what is BB cream still, BB cream also known as Blemish Balm cream was used back in the days for people who had undergone skin laser surgery, recommended by dermatologists to calm and protect their skin. Over the years, bb cream had became so popular that it was being used by cosmetic companies as a multi function product and some even incorporating skincare benefits! 

Hmm..so many different brands out there, which ones to chose? Having tried so many different brands and types out there,  I finally found my true love!  ^_^ (Eehh. .talking about bb cream ok..? Don't think otherwise k? ;) )
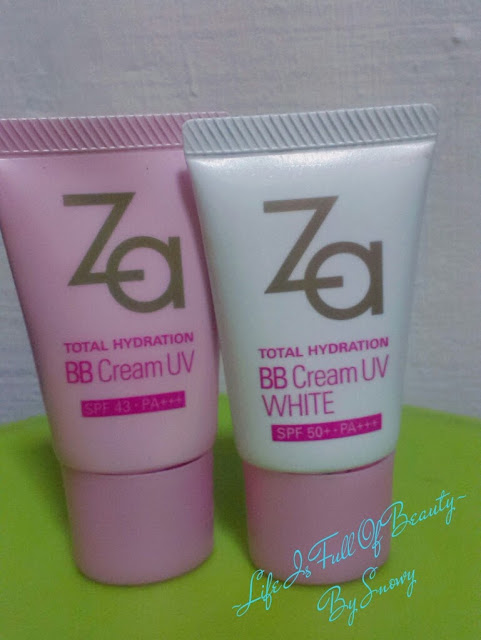
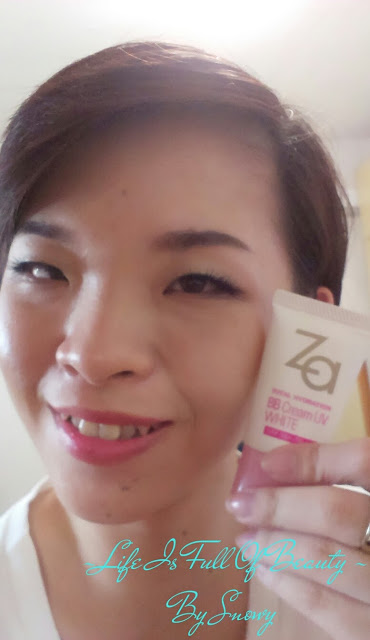
Za Total Hydration BB & BB UV White Cream.  

When I first tried this on at the counter in Watson,  I was simply amazed by the light weight texture and how moisturising it was.  At that point of time, I was looking for a suitable BB cream that would be light weight in texture. Most of us when mentioning about BB cream would straight away think about Korea and recommend Korean brands which I have used before.  

However,  Korean brands of BB creams usually tends to be slightly more rich in texture for some of the range and when we put on our face it seems to be slightly rich and thick or even oily!

That is because the weather and climate in Korea is more dry and cold due to the four seasons compare to our hot and humid climate thus, the texture of theirs BB creams usually tends to be thicker.

Za Total Hydration BB cream UV not only feels light in texture but its also very easy to apply and blend. For busy women like us, a good product that has multi function and benefits is just what we need. 


Comes with SPF 43pa+++. With 12 in 1 multi function that can achieve a healthy glowing look with the special mineral skincare formula yet moisturise the skin at the same time.  Light weight and super bendable and also able to act as a foundation to conceal all skin problems.  Recommended for normal to dry skin or babes who had to constantly stay in air con environment.

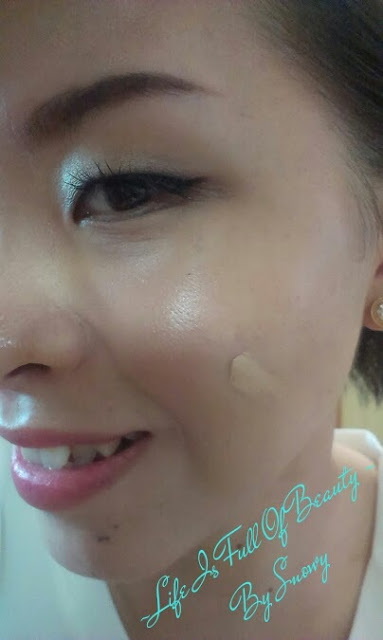
Another true love of mine would be the Za Total Hydration BB Cream UV White. Comes with a high SPF factor of 50PA+++. A whitening bb cream that brighten your skin in just 10 days!  Correct dull and uneven skintone too. I love the fact that not only its light texture but yet it also brighten up my dull n swallow skin tone.  Though it only comes in one shade, but it suits most Asian skin tone. ♥

Each time I only had to used a small amount, about a pea size slightly more and I am able to use for my entire face. Though the packaging is small but its able to last me for a month or two. This is already my second tube. ^_^

Super bendable and easy to spread. I normally use a sponge to apply. First tapping the bb cream onto the face then spread outwards. If no sponge or no time to use one,  then fingers will also do the trick. The key to make our base or foundation last longer is to tap the product on first then spread.  Personally I like to start from the centre of my face and move outwards. Then places where I have ance scars or need more coverage l'll tapped on abit more of the cream.

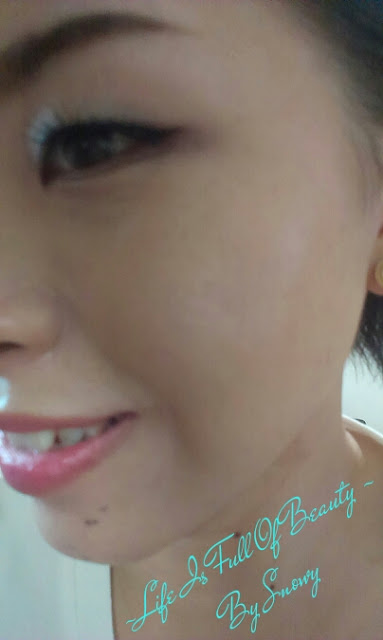
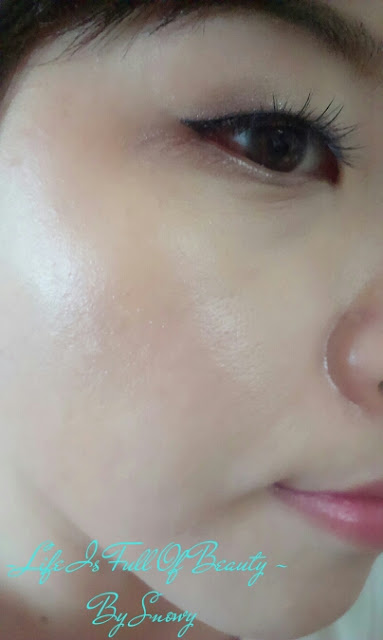
I love how it makes me look more fresh and radiant the moment I applied on my face yet knowing that my face is protected from the UV Rays with the high SPF factor.  For busy women like us or simply no time to slather on so many products in the morning, this is really one base makeup that I would strongly recommend.  =)
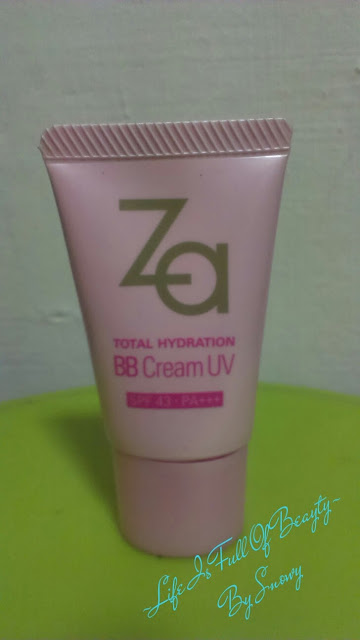
After consistently using it, I do noticed that my skin tone seems to be slightly brighter in tone and spots and scars seems to be slightly lighter. Really ♥ this multi function and reasonable price product which I'll be getting my third tube soon. My second tube left half only! >\\\<  ( Panicked mode!!!) 
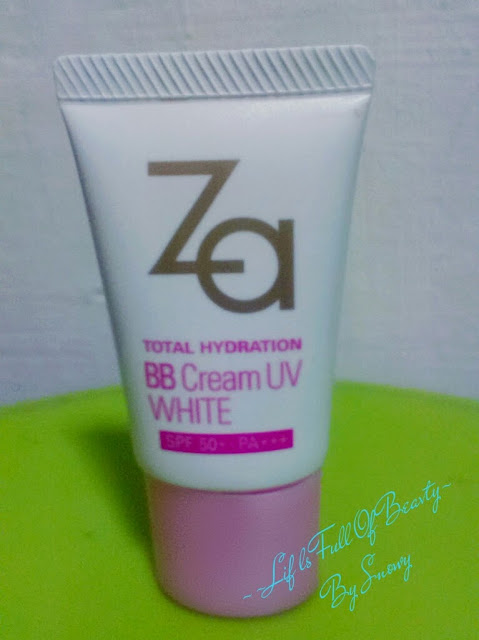
Hope you all enjoyed today's little review and sharing. 

Lurve
Snowy
Living Beauty Editor/
Makeup Artist